
Rooting is a process that grants users of smartphones, tablets, and other Android devices privileged control, often referred to as root access, over Android subsystems. Since Android is built on the Linux kernel, rooting an Android device offers administrative (superuser) permissions similar to those found on Linux or other Unix-like systems such as FreeBSD or macOS.
The method of rooting can vary depending on the phone’s manufacturer. Some manufacturers offer unlocked bootloaders, allowing users to install custom firmware with ease. However, other manufacturers require users to agree to certain terms, which may result in voiding the phone’s warranty. In some cases, manufacturers lock the bootloader entirely, leaving users with limited options.
With an unlocked bootloader, users can install custom firmware and modify the root file system by adding the “su” binary. On the other hand, if the bootloader is locked, rooting becomes more complex. In such cases, it requires finding and exploiting vulnerabilities within the software to gain administrative privileges. This is often done by targeting weak points in highly privileged services or the kernel itself.
Rooting an Android Device Using Magisk
- Download the official firmware for your device from the manufacturer’s website, ensuring it matches your specific model.
- Locate the “init_boot.img” file inside the firmware’s “image” folder, and transfer it to your device’s internal storage.
- Download and install the latest version of the “Magisk Manager” app on your phone.
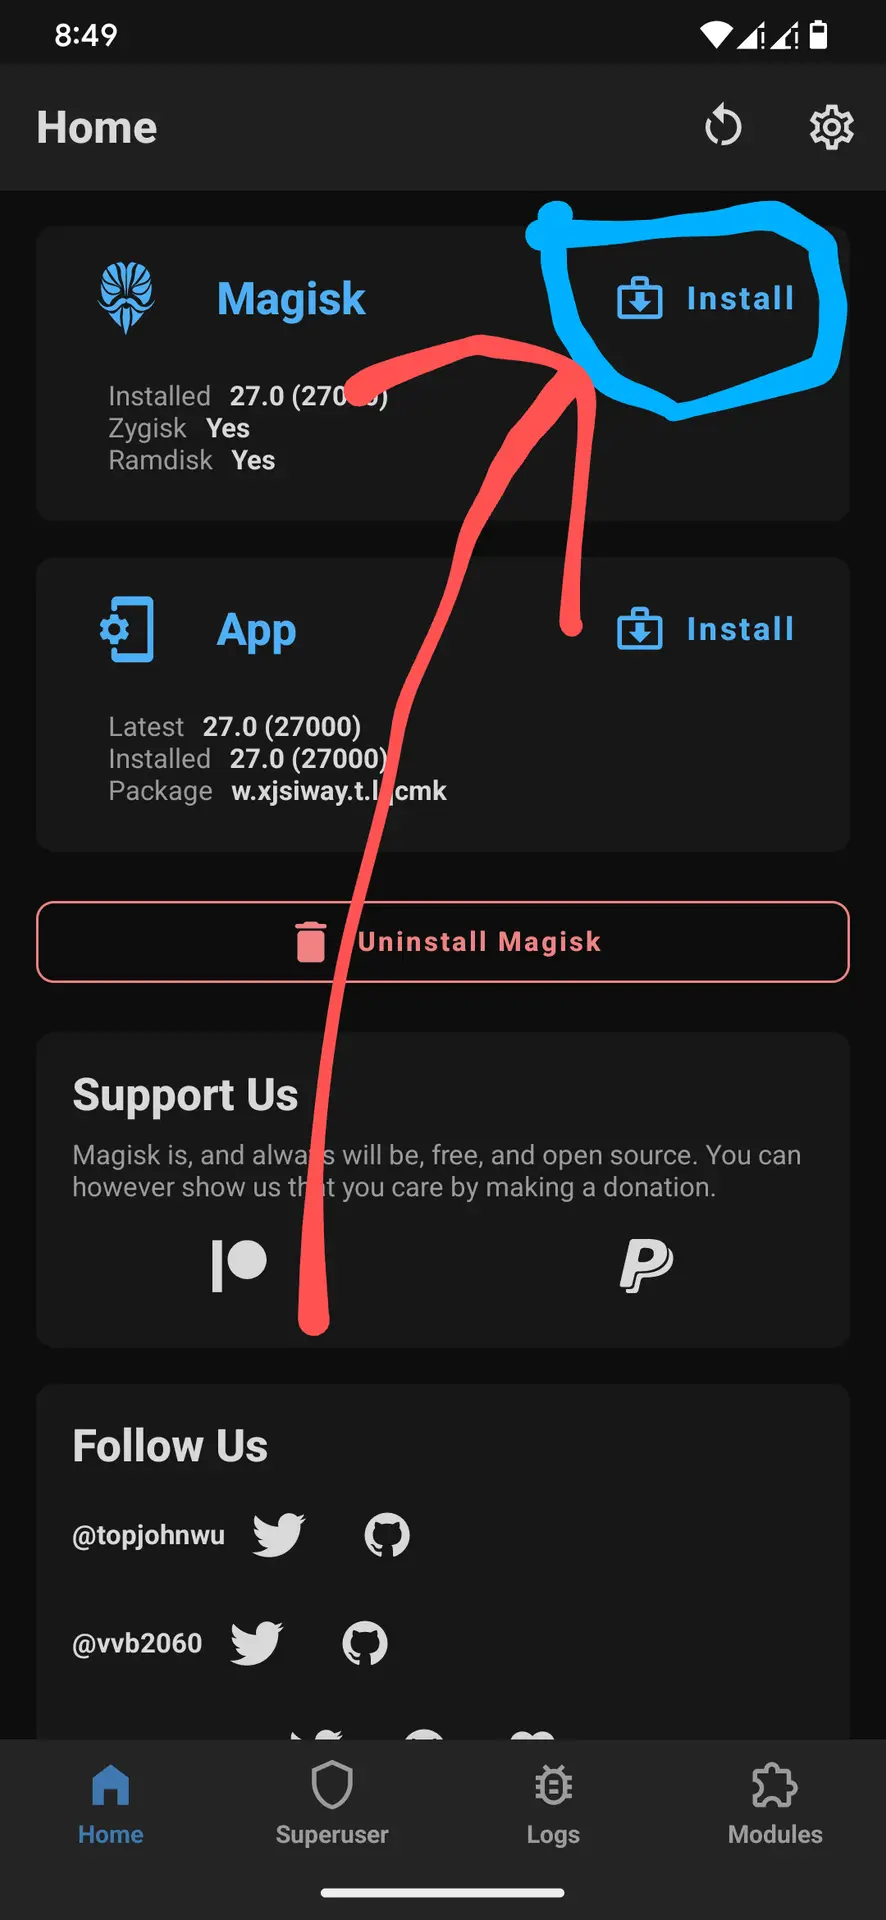
- Update the application to install latest version.
- Tap on “Install” option.
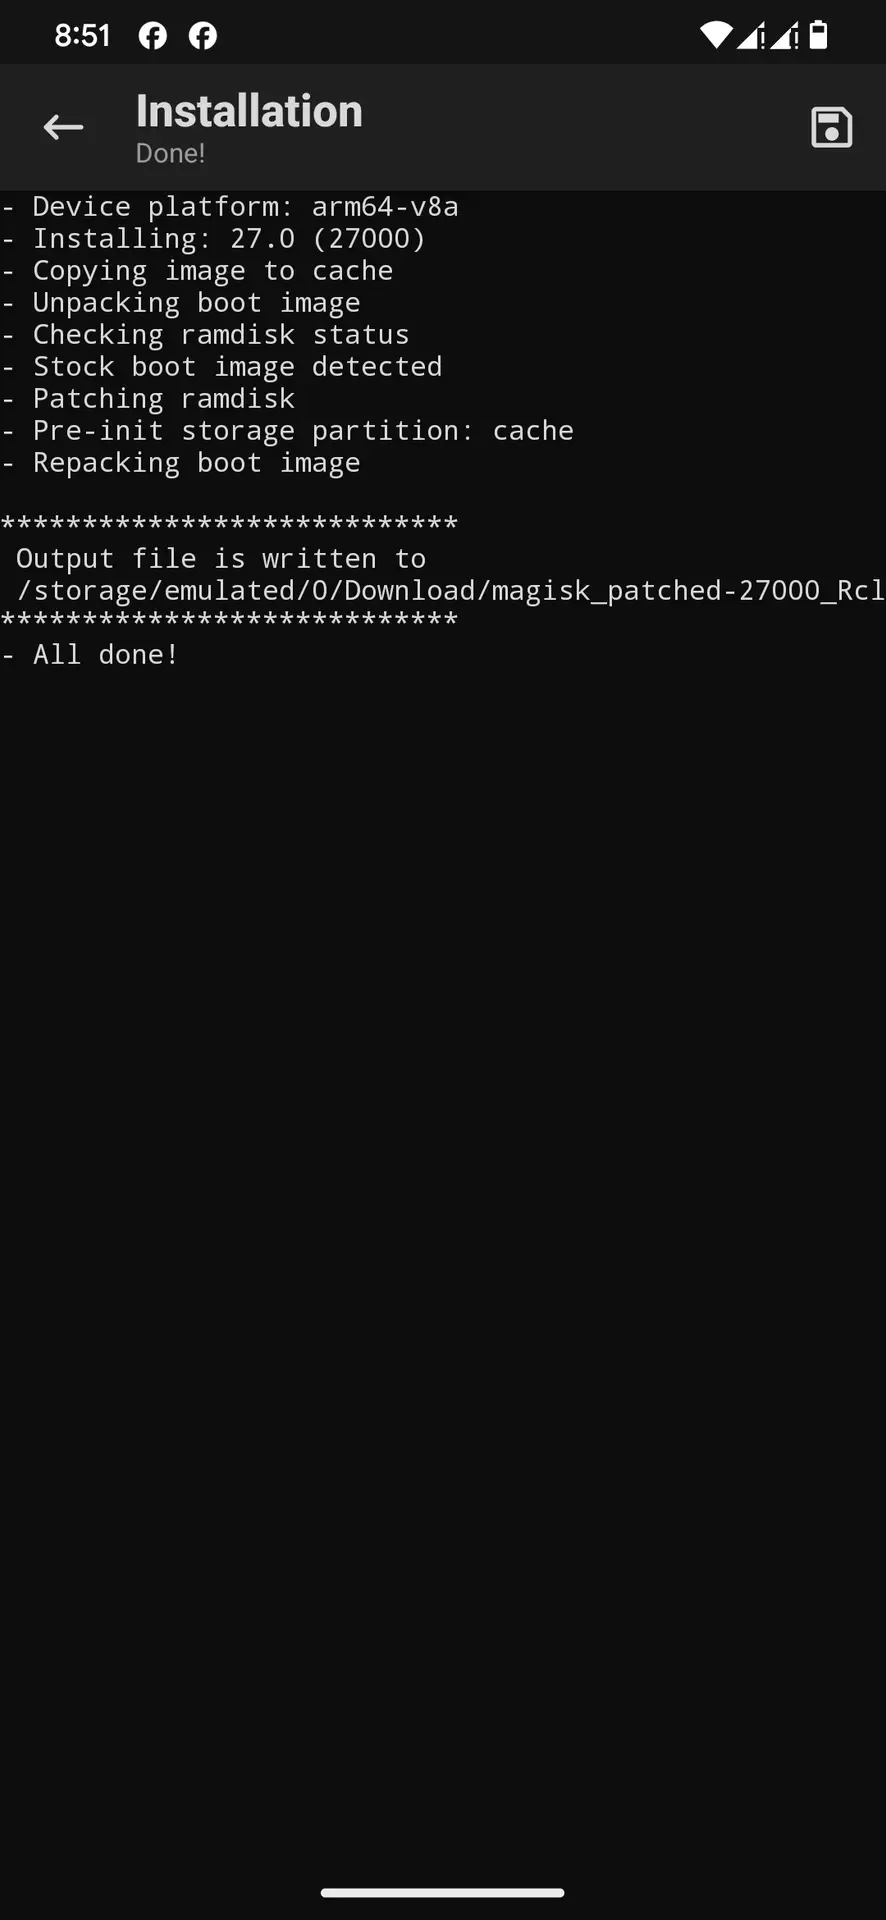
6. Select “Select and Patch a file” option and select the “boot.img” file.

7. Magisk Manager will now patch the file and save a new version in the “Download” folder within your device’s internal storage.
8. Copy the patched file to your pc where “fastboot” is installed.
9. Now go to settings -> Developer Options -> Enable OEM Unlocking and USB Debugging
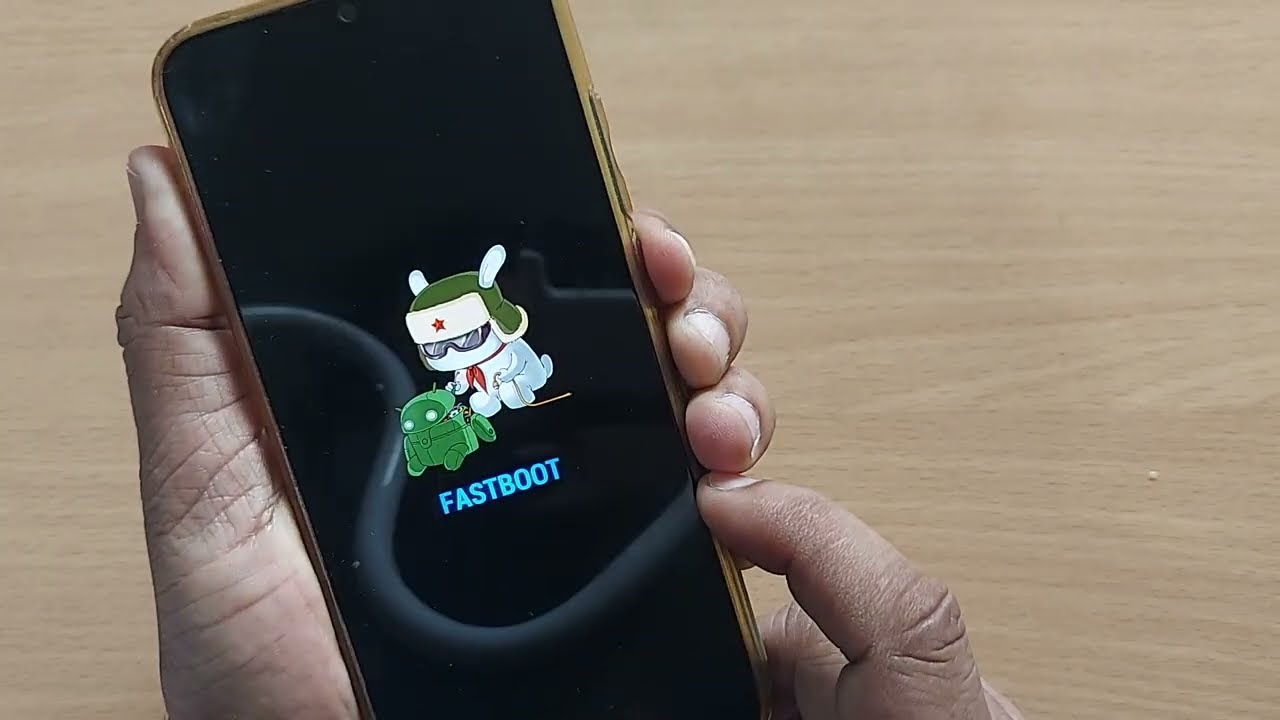
10. Now reboot your phone to fastboot mode. To enter Fastboot mode on your phone, you can press and hold the following buttons simultaneously:power and volume down..Once the phone is completely off, the word “fast boot” should appear on the screen.
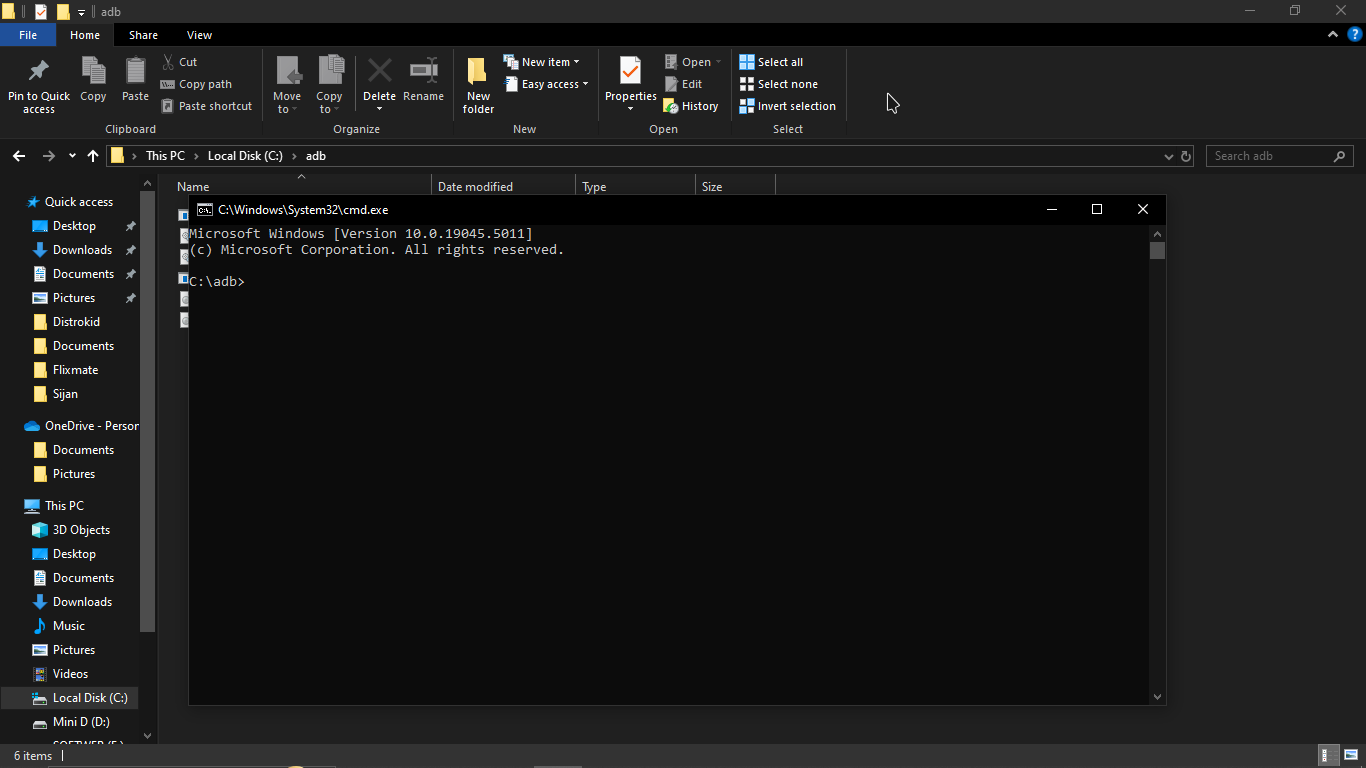
11. If your PC doesn’t have ADB Driver, then install it from here and run cmd in your PC “c drive”>> adb folder and connect your phone to the PC via USB Cable.
12. Make sure that your phone is connected with the PC perfectly and you’ve installed the latest USB Driver in your PC. After that enter the following commands in your cmd.
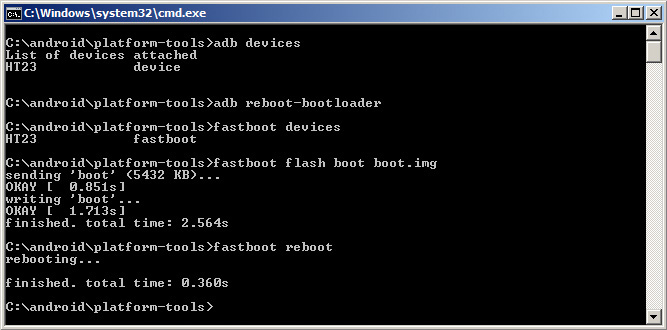
fastboot devices
If the command returns a response other than blank or an error, you’re good to go!
Copy the boot.img file that you’ve got from Magisk Manager into the C:\adb folder on your PC. Then, execute the following command:
fastboot flash boot boot.img
(If your boot.img has a different name, make sure to adjust the last part of the command accordingly.)
Wait for the process to complete. If the terminal displays “okay” twice and the prompt reappears, everything went smoothly.
reboot your device with
fastboot reboot
The entire process should look something like this in your Command Prompt (CMD):
BE AWARE THAT I’M NOT RESPONSIBLE IF IT DOESN’T WORK OR BREAKS YOUR PHONE! THIS IS JUST THE WAY I UPDATE THE BOOT.IMG ON MY PHONE!